StoreFeeder Implementation Process

So, you’ve signed up for StoreFeeder and might be wondering, “Where on earth do I start?!” Don’t worry; you’ll have one of our highly knowledgeable ‘implementation specialists’ assigned to guide you every step of the way. Additionally, the setup path documented below will give you a clear idea of what to expect next. With StoreFeeder, you’ll benefit from increased efficiency, improved accuracy, and the automation of manual processes, ensuring a smooth and streamlined experience.

Your assigned implementation specialist will not only be available to answer any questions you might have but will also introduce you to innovative methods for picking, booking in, and transferring stock using our App. These improvements will save you both time and money, significantly enhancing your overall efficiency.

Your implementation specialist will communicate with you via email, Teams/Zoom meetings, or phone calls, arranged at scheduled times or as needed. The team is very flexible and supports you at your pace, providing as much help as you need to seamlessly integrate StoreFeeder into your business and everyday operations.

Here are the core steps to get started with StoreFeeder. Detailed guides are available in our knowledge base, and on the setup checklist you’ll see when you first log in. While additional features like purchase orders, requisitions, and drop shipping can be added as needed, the quickest way to begin using StoreFeeder is as follows:

1

Warehouse enhancement review

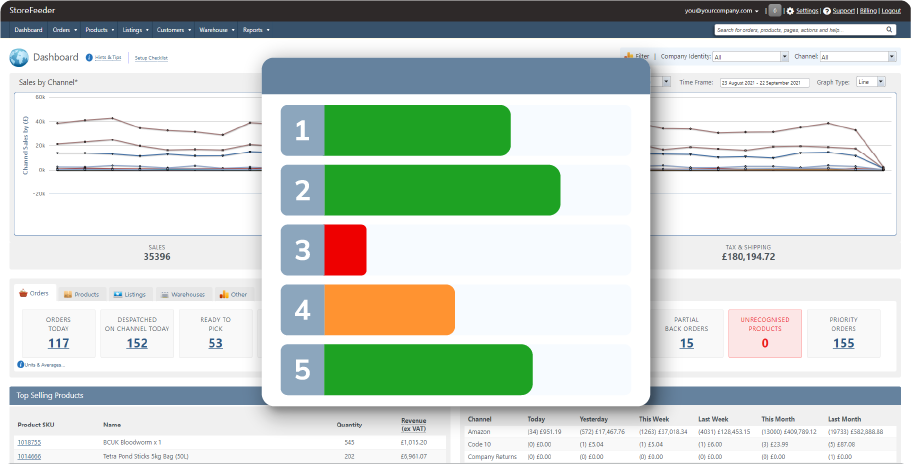
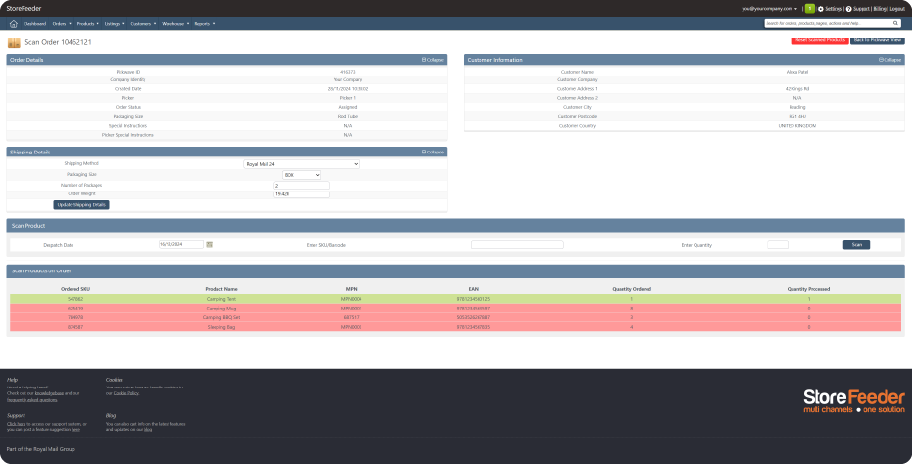
Your implementation specialist will start by asking about your current processes for picking, packing & despatch. Using this information, they will show you how StoreFeeder can help improve efficiency and accuracy using a combination of our App and barcode despatch.

Tried and tested methods have shown this to be the best way to reduce costs, end reliance on staff knowledge, and support your future growth. This will then form a plan for implementation so your assigned specialist can support you to integrate StoreFeeder into your business.

2

Integrate your platforms with StoreFeeder

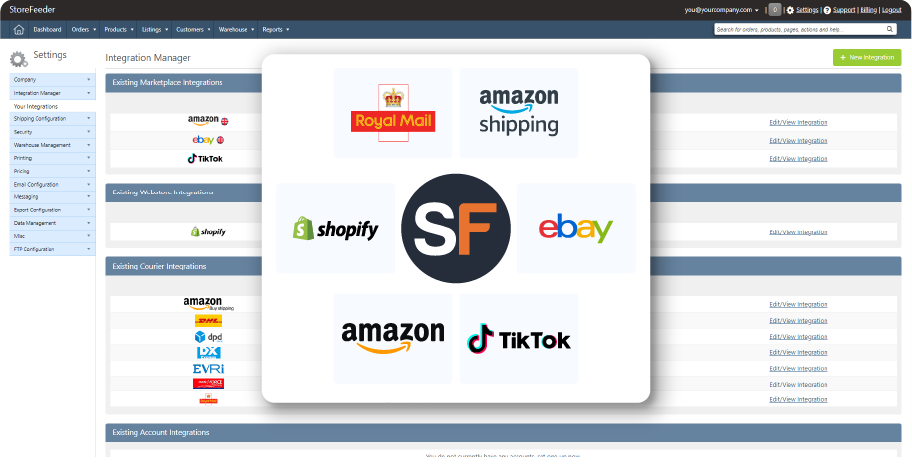
The first step is to integrate your marketplaces, webstores, couriers, and accounting software (if applicable) with StoreFeeder. Most channels are easy to connect, and our knowledgebase offers comprehensive guides to assist you.

Once integrated, ensure everything is activated. You’ll then start seeing all your orders and listings in StoreFeeder, providing a centralized view that simplifies your operations.

3

Streamline product creation in StoreFeeder

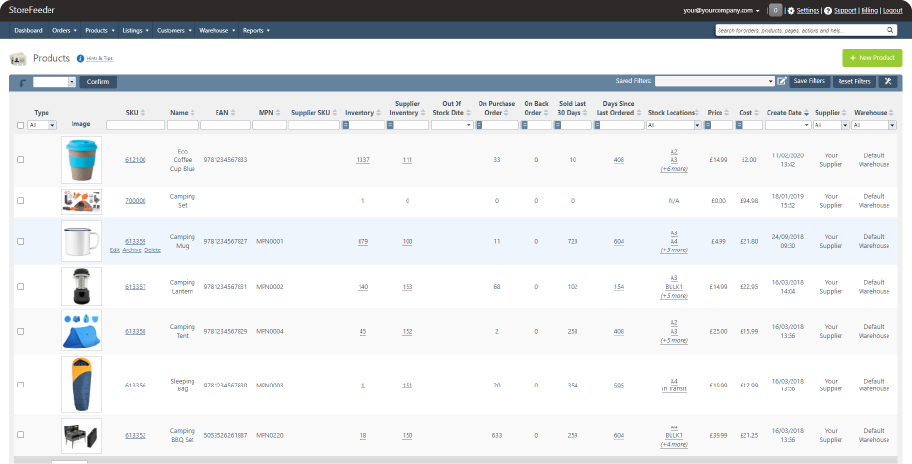
With your listings imported into StoreFeeder, the next step is to create products for seamless inventory management across all your listings for each product.

Don’t worry about doing this one by one — there are two efficient methods to complete this task in bulk. You can either create products in bulk using listing information, or import products via a spreadsheet (.csv, .xls, .xlsx) for quicker setup.

4

Efficient mapping of listings in StoreFeeder

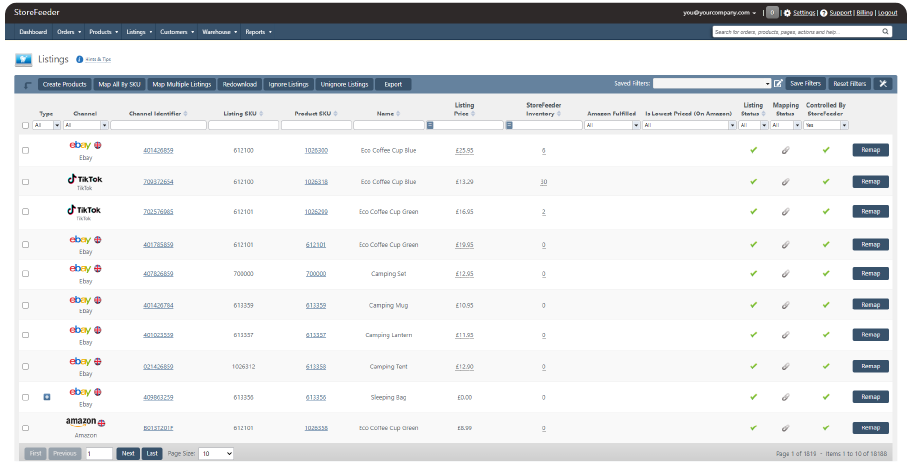
Just like product creation, mapping your listings to products can be done swiftly and seamlessly. If your listing SKUs match your product SKUs, you’re in luck: simply click the ‘Map all by SKU’ button in StoreFeeder to automatically map as many listings as possible to your products without any manual effort.

Alternatively, you can use a spreadsheet method where you designate a column for listing SKUs and another for the corresponding product SKUs you wish to map them to. This flexibility ensures smooth integration tailored to your needs.

5

Streamlining packaging automation in StoreFeeder

Automating your packaging sizes is up next, which will save you significant time by eliminating the need to manually apply packaging types to each order — StoreFeeder handles it automatically.

As part of this process, you'll apply packaging sizes and quantities to your products. Doing this in bulk via spreadsheet is ideal and presents a great opportunity to update your products with additional information such as EANs, suppliers, stock locations, and customs details.

6

Finalise shipping setup in StoreFeeder

The last step before using StoreFeeder is setting up shipping.

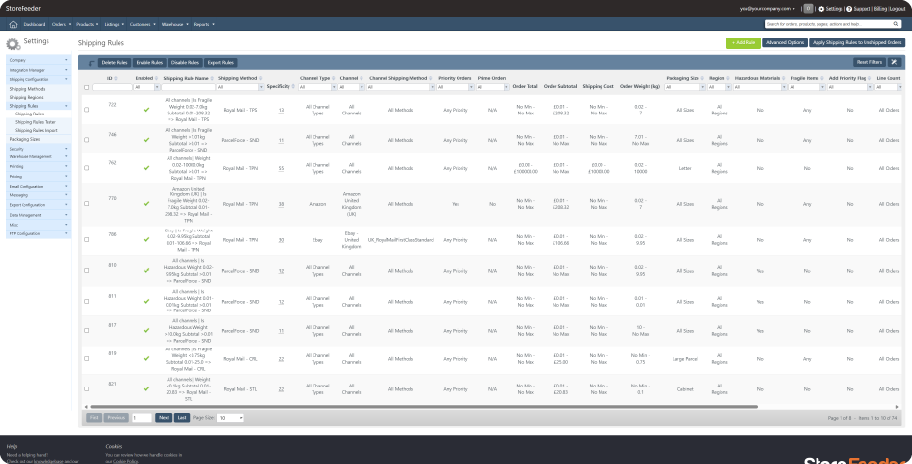
You'll need to configure shipping methods for each service you use, along with rules that dictate when these methods apply to orders.

After setting up shipping methods, your implementation specialist will conduct label tests with you to ensure everything functions smoothly. They will also guide you through daily StoreFeeder operations and any remaining setup requirements. During this session, you'll learn how to use our picking system, print invoices and labels, manage orders efficiently, and maintain accurate stock levels.

7

Activating StoreFeeder: The final step

The last task on the list (one that I advise your implementation specialist is present for) is to get everything switched on. Suppose everything mentioned before has been done correctly. In that case, StoreFeeder will now be accurately controlling your stock and updating your orders on the channel when they are shipped, at the very least. You and your assigned specialist have likely also set up some of the plethora of additional features StoreFeeder offers.

That concludes the core setup of StoreFeeder. We look forward to seeing how it enhances your business growth and lightens your workload.

Let's start growing your business

Are you ready to take your eCommerce business to the next level?
Book a free demo with StoreFeeder now and see how we can help you grow your business.

Book a demo